Glazed Lemon Ricotta Cookies
Glazed Lemon Ricotta Cookies
Yield: 36 – 42 cookies
Well, my love for lemon continues! I saw a recipe for Lemon Ricotta cookies posted by well renowned chef Giada awhile back and decided to make them. I didn’t have enough of the ingredients at home and decided a trip to the store was not happening, so I made a few alterations and … Walla, my recipe was born! I have made them more than a few times and have taken them to parties; my husbands’ office and they always receive rave reviews! My recipe is lower in sugar and fat than a traditional cookie recipe, which creates a crisp, light texture. Still a challenge to eat only one!
Ingredients:
Cookie Dough:
2 ½ cups all-purpose flour
1 teaspoon baking powder
1 teaspoon kosher salt
1 stick (1/2 cup) unsalted butter, softened
1 ½ cup granulated sugar
2 eggs, room temperature
1 ½ cup low fat or fat free ricotta cheese
3 tablespoons lemon juice
2 tablespoons lemon rind
** Will use roughly 2 lemons for recipe.
Glaze:
2 cups powdered sugar
3 tablespoons lemon juice
1 – 2 teaspoons ½ & ½
1 tablespoon lemon zest
Optional…1 drop yellow food coloring
Equipment:
Large mixing bowl
Stand up mixer or Hand mixer
Medium bowl
Liquid and dry measuring cups
Measuring spoons
Citrus juicer
Microplane citrus zester/ grater
Wire whisk
Rubber spatula
3.5 – 4 cm (small) cookie scoop
Half baking/ cookie sheets – 2
Parchment paper
Cooling rack
Small mixing bowl
Small spoon


Cookie Preparation:
Preheat oven to 375 F
Initially, it is important to gather supplies and pre-measured ingredients prior to baking. I usually measure flour and sugar when I need them, but pre-measuring ensures you have everything necessary for efficient mixing and recipe development! I hate running around the kitchen gathering items. My kitchen is organized so most of my baking needs are in the cupboards surrounding my mixer and canister set. Again, efficiency is key. Before juicing a lemon, zest it first. It is so much easier and the zesting process helps massage the lemon for better juice extraction. I place a piece of waxed paper or a small plate down to catch the zest and place juice either in a small bowl or a measuring cup for later use. An average lemon will provide you with about 1 – 2 tablespoons of zest and 2 – 3 tablespoons of juice. When zesting, remove only the top yellow skin and resist the urge to go too deep into the rind, as this can add a bitter flavor. Juice and zest not used for cookies can be reserved for glaze.
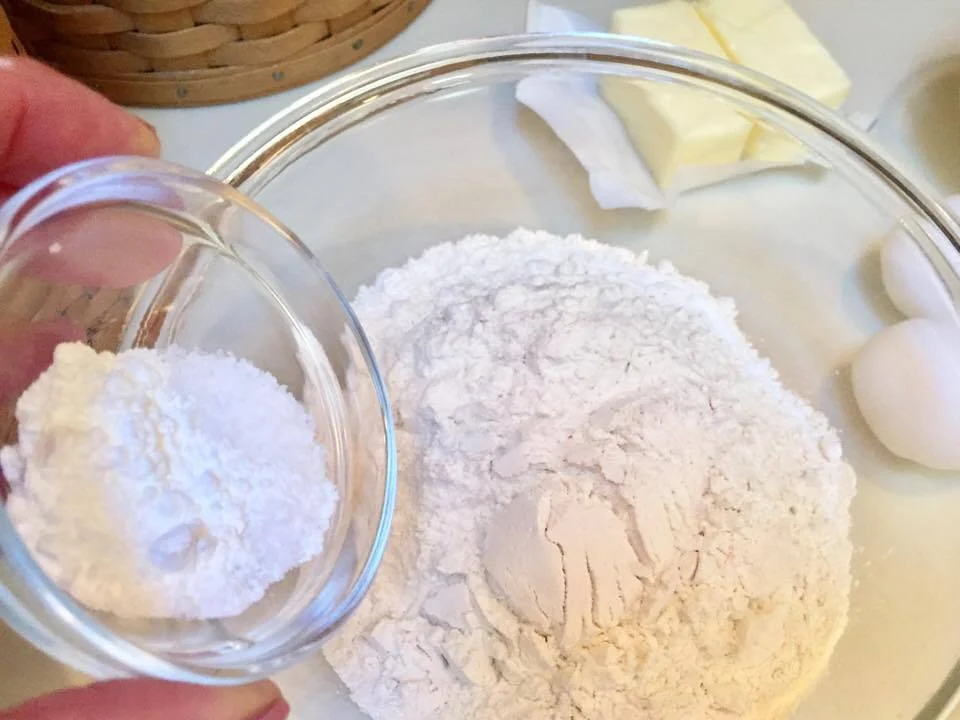

Place the flour, salt and baking powder into a medium bowl and whisk together well. This will ensure the dry ingredients will be dispersed more evenly in the cookie dough. Set aside.


To start the cookie dough preparation, place the softened butter and granulated sugar into the stand up mixer or large bowl. Cream the butter and sugar together at low speed until fluffy and a uniform yellow color. Add the eggs and continue to beat at medium low speed until creamy and yellow as shown above. On occasion, I also add a drop or two of yellow food coloring, depending on the color of the resulting mixture after eggs are added. Some egg yolks will be more orange in color than others and will make the dough a deeper yellow color. I prefer a more yellow final product, so I add a bit of yellow to enhance the cookie color. Remember, only a drop or two is needed and mix in well to get rid of the darker streaks.


After mixture is creamy, add ricotta, cheese, lemon juice and zest. In the past when I didn’t have ricotta in the house, I have used low fat or fat free cottage cheese, which I drain and puree in my small food processor. Ricotta makes it easier, but cottage cheese is often cheaper too. Continue to beat until well blended and uniform in color as shown.

The dry ingredients can be added at this point. I usually add half the flour mixture at a time, mixing on medium low speed or by hand using a rubber spatula. After all dry ingredients are added, be sure to blend well. Dough will be fairly stiff when ready.


Prepare half sheet pans by lining with parchment paper. I don’t know about you, but I prefer not to have burnt cookies and makes clean up easier too. Parchment paper is something I used to not use, but after watching students routinely burning cookies due mostly to inexperience, I was sold! Using a small cookie scoop (3 .5 – 4 cm in diameter) scoop the dough in about two tablespoon portions, and level off scoop surface by scraping on side of bowl or using a flat edge to level. This will make your cookies round in appearance after baking and also help bake uniformly. Scoops don’t have to be used, but again it does help make the process easier. I also use scoops when filling cupcakes and muffin tins. (Dough is rather sticky, but spoonfuls can be rolled lightly in your hands to create a round shape if a scoop is not an option.) I am a bit OCD when it comes to round cookies… you don’t have to stress about shape accuracy if you are planning on just eating them! Place about 12 to a pan, as to not crowd them and allow for spreading.


Place baking sheets in middle rack of oven and bake for ~ 15 – 17 minutes. Depending on the accuracy of your oven temperature, baking varies. When cookies are finished baking they should be lightly golden on bottom touching paper. Sometimes the outside cookies will bake quicker and appear darker, so remove pan from oven if this occurs. Allow cookies to set on tray for 3 – 5 minutes and then place on a cooling rack until fully cooled. Generally, I scoop one pan of cookies and while they are baking I pan the second. This way they are ready when the first pan comes out. By the time the first pan is cooled the next is ready to take over and so on. Allow the pan to cool slightly before placing the next batch of dough on the tray, as this will reduce the cooking time and melt the butter in the cookies prematurely. After cookies are cooled, remove from the cooling rack and gently stack. When the cookies are finished it’s time to make the glaze. Save the parchment lined pans to place glazed cookies to dry.
Glaze Preparation:
Once again, gather supplies, juice and zest lemon if needed. (I usually have lemon juice on hand in my refrigerator, in case lemons don’t produce exactly what I need.)
Glaze sometimes uses a varying amount of liquid depending on measurement of powdered sugar, so pre-pouring is not necessary.


To prepare glaze, place powdered sugar in small mixing bowl and add lemon juice. Using wire whisk, stir mixture as best you can. It will be too thick to be a glaze at this point. Add ½ & ½, 1 teaspoon at a time mixing well after each addition. Glaze will be thick, but not runny. You want the glaze to stick to the cookie and not run right off immediately! I try to achieve a texture a bit more viscous than frosting. Add lemon zest and 1 drop of food coloring, if using. Mix well to incorporate color and zest. If you desire a more colorful cookie, add another drop of yellow… be careful as drops come out quickly.


Using a small spoon carefully place a small amount of glaze (~ 1/2 teaspoon) on top of each cookie and spread using back of spoon using a circular motion. Glaze should hug cookie and perhaps over time run a bit while drying. If glaze is too runny, add a few tablespoons of powdered sugar and whisk well to eliminate clumps. Place glazed cookies on parchment-lined pans you saved from the baking process. This will allow them to dry. Cookies will take about 20 - 30 minutes to fully dry and be able to stack. Store cookies in a container with lid NOT tightly sealed. The moisture built up will make the frosting become sticky and you will have a mound of gooey cookies
Enjoy!!
